This blog post encompasses the journey of “Wait”, “What To Do”, “You and I” and “Role Model” – from their early demo stages to completion. The main musical elements are broken down into sections that cover the production techniques, approaches, and mix concepts utilised upon working with each musical element and song, alongside stating the producers that inspired my work.
Vocals
After having created the lyrics for my tracks, I wasn’t too sure on how I wanted the vocals to sound – whether I would want them sung without hesitation or whether I’d want them whispered/under my breath. With just the vocals alone, my voice was far too abrasive and sounded like I am singing from my throat as opposed to my diaphragm on “Wait” and “You and I”. However, whispered vocals on their own were too unintelligible and didn’t provide enough clarity to the vocal delivery. I decided that a mixture of the two styles on “Wait” and “You and I” would provide enough definition in the vocals to allow the listeners to understand what I am saying, yet the whispered style of vocal delivery would fit the overall feel and vibe of the song. I drew inspiration from Pulp’s ‘Common People’ and many of Beck’s songs that use a mixture of both soft soothing vocal performances alongside throat-driven vocal deliveries, such as ‘Wow’, ‘Devil’s Haircut’ and ‘E-Pro’ to name a few. As “Role Models” is the rawest, most organic sounding track out of the four I wanted the abrasiveness and harshness of my voice to cut through the mix, as whispered vocals would run the risk of disrupting the intelligibility of what I was saying.
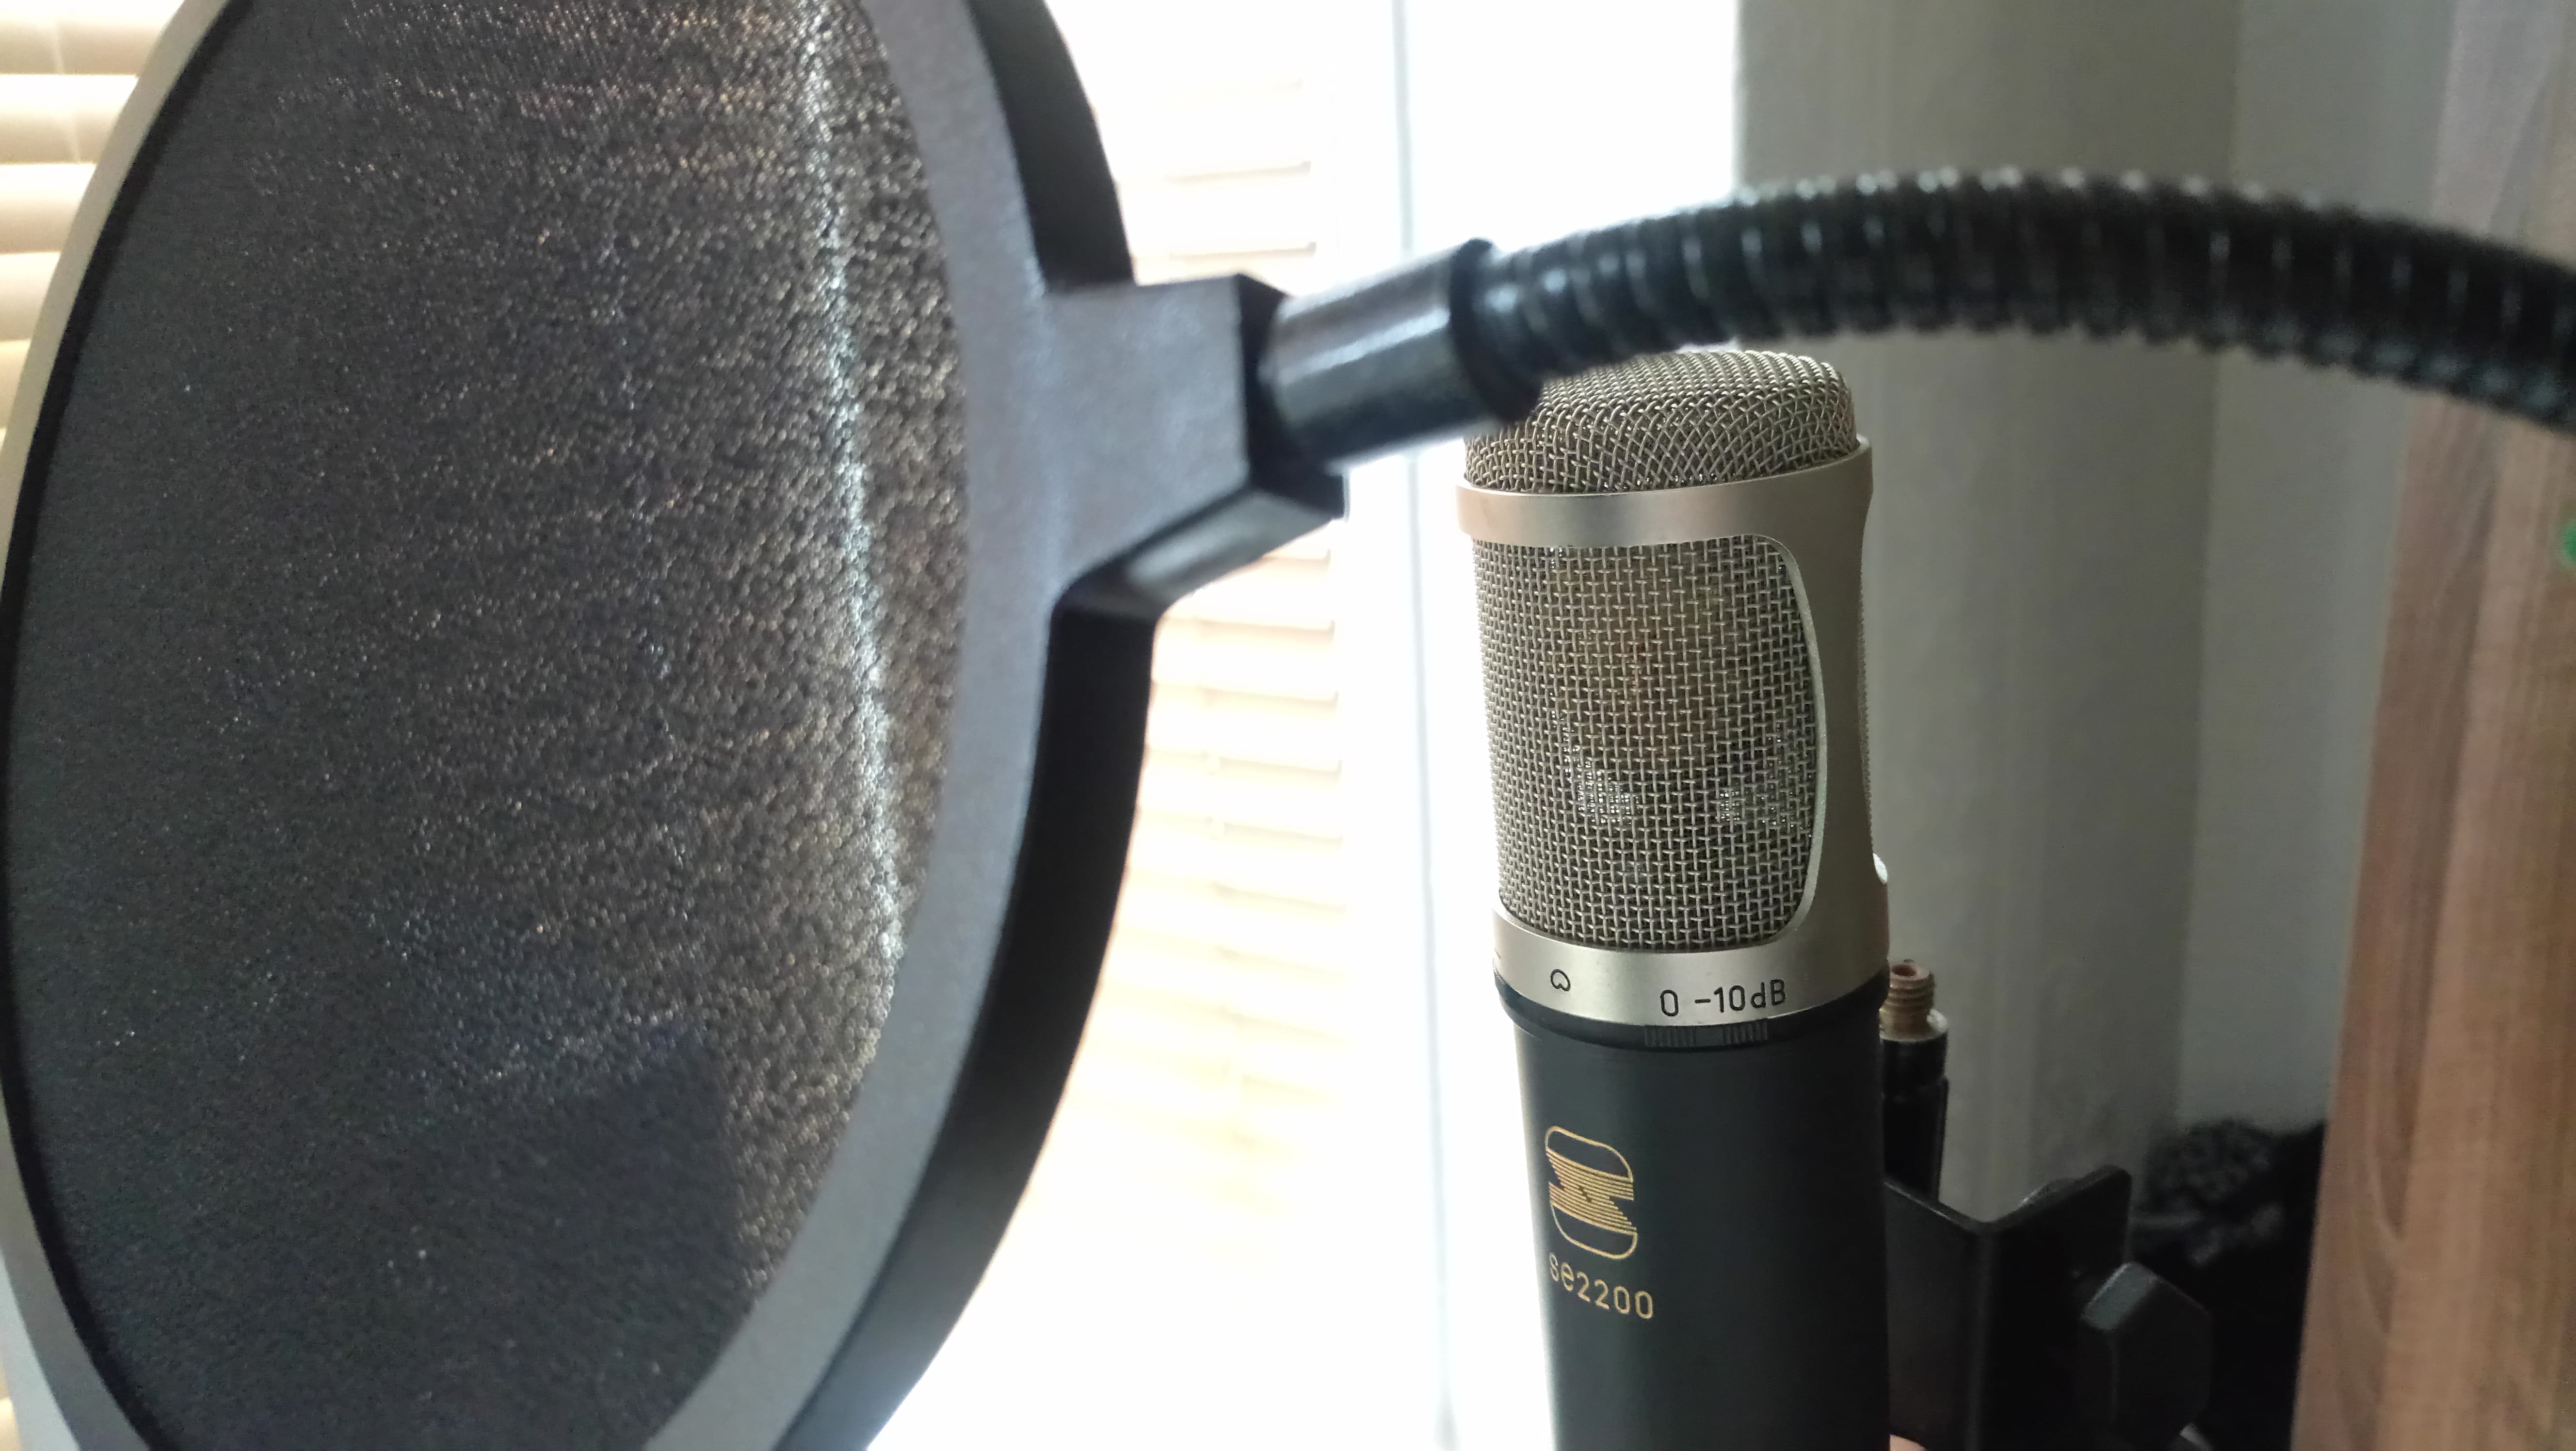
Prior to having made a decision on what I was going to do for this assignment, I had a ‘microphone shootout’ between the Electrovoice RE-20, AKG 414, sE 2200 II, AKG C4000, SM57 and Neumann U87. For my voice, the sE 2200 II didn’t dramatically attenuate the frequency range of my voice to an extent that it sounded different to how it sounds in the real world, however, it did have an audibly pleasurable way of changing the timbre of my voice between 7-10 kHz. The 414 and Neumann seemed to over-exaggerate the higher frequency range of my voice, which created a very undesirable, abrasive quality about it, so I opted for a microphone that captured the higher frequencies, yet slightly dampened how sharp they cut through when recorded.
I decided to record my vocals at home due to the ease of recording by myself and the amount of absorptive materials around the room that would help reduce reverb times by absorbing the penetrative properties of sound waves, especially the first reflection, which if not treated initially can create the issue of ‘hearing the space’ you’re recording in. I chose to use my own sE 2200, approximately 15cm away, using a pop filter to reduce plosives that could occur upon being so close to the microphone.
The whispered elements are double-tracked and panned left and right slightly accordingly, to utilise the stereo field alongside creating an interesting effect that I believe has changed the feel of the song, heading towards more of a Pulp/Death in Vegas direction. The louder vocals, however, are double-tracked and centered, providing the definition and articulation that’s much needed alongside the whispered vocals.
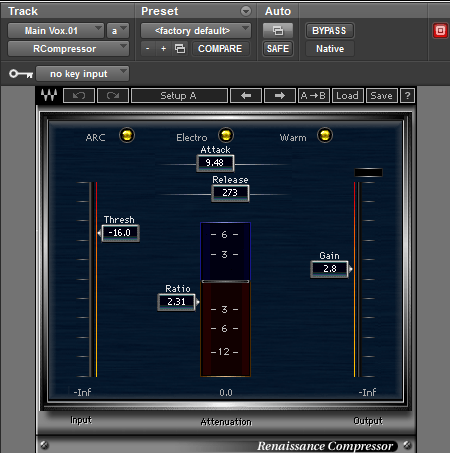
I chose to use the Waves Renaissance compressor to control the dynamic range of my vocals. Rather than using a ‘transparent’ compressor that doesn’t impose any audible characteristic to the timbre/frequency content of the sound source, I wanted a compressor that not only controls the dynamic range but thickens and creates a ‘beefy’ texture to the sound. I chose to go with a 2:1 compression ratio as I have previously had ratios up to 5:1; not only did it suck the life out of the vocal performance but also increased the audibility of the sound source exceeding the level of the compressor’s threshold over and over again, creating a ‘pumping’ effect. I chose a quick attack for tracks such as ‘Wait’ and ‘You and I’, as there are many words delivered over a short period of time, meaning I’d need the compressor to react quicker to the sound source exceeding the threshold than say for ‘What To Do’, where I take my time for the most part.
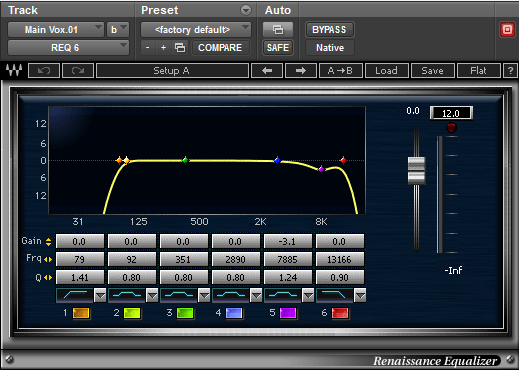
I used Waves’ Renaissance Equalizer for the vocals. Much like the Renaissance Compressor, this EQ doesn’t just boost/attenuate particular frequency bands but also imposes its audible harmonic characteristics onto the sound source it is applied to. I really like how it smoothed out the low-end frequency content of my voice even without boosting any frequencies, however, I did use a low shelf to remove <80 Hz as this wasn’t adding to the vocals and would only muddy the mix in an unnecessary way. The higher range frequency content was still a bit too bright for my liking and has been an issue with some of my vocal mixes in the past n my opinion, so I used a high shelf to remove frequencies 13.166 kHz and above and attenuate at 7.8 kHz by 3.1 dB, just to soften the abrasiveness of the vocals.
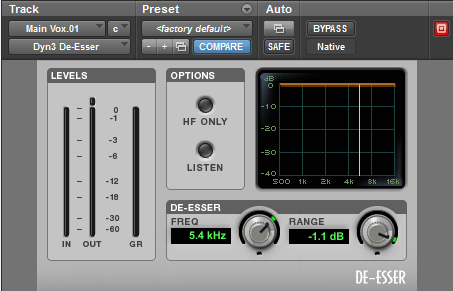
As there was quite a bit of sibilance in my voice, even after having chosen a suitable microphone and EQ’d, I decided to use a de-esser to control the ‘s” that were often over pronounced on purpose as a vocal style. Using the listen’ control, I listened to how the higher frequency content was being affected. I chose not to select the ‘HF Only’ as this option was attenuating sibilance far too aggressively and was very noticeable, thus I just raised the range control which acts as a threshold, to ensure that it was just capturing the sibilance.

To add an analogue warmth, i.e. timbre change via harmonic manipulation, I decided to put the Waves ‘Kramer Master Tape’ plugin on the vocal bus. I changed the Inches Per Second (IPS) control to 7.5, as this thickened up in an audibly satisfying manner. I used the ‘Record Level’ control to drive the vocals into the tape emulator ‘hotter’, thus applying more tape saturation to the vocals which added a slight distortion that helped the vocals cut through the mix. I selected the ‘Link’ control between the ‘Record Level’ and ‘Playback Level’ controls to compensate for the volume increase.
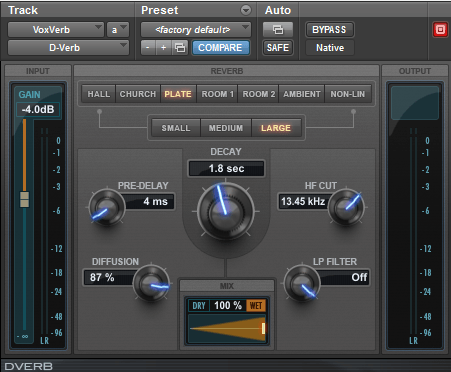
Pro Tools’ ‘Dverb’ reverb was used as a bus effect, allowing me to send my vocal bus to this effect. The large plate setting on a 1.8 second delay time seemed to be just enough to thicken up the vocals alongside making it sit well with the rest of the musical elements within the mix. I added a small amount of pre-delay to allow attack portion of the initial transients to cut through the mix, whilst the main bulk and tail of the sound source are being affected. I could have made the pre-delay slightly longer, but as my words are quite percussive in ‘Wait’, You and I’ and certain sections of ‘What To Do’, I felt making it shorter would help the reverb not ‘detach’ itself from the words I was saying.

I filtered the low end out of the reverb to ensure that the reverb doesn’t essentially leave a trail of muddiness throughout the mix. The reverb did not over-emphasis the higher range frequency content of my voice, so I didn’t need to attenuate/treat as it sat well within the mix.
Acoustic Guitar
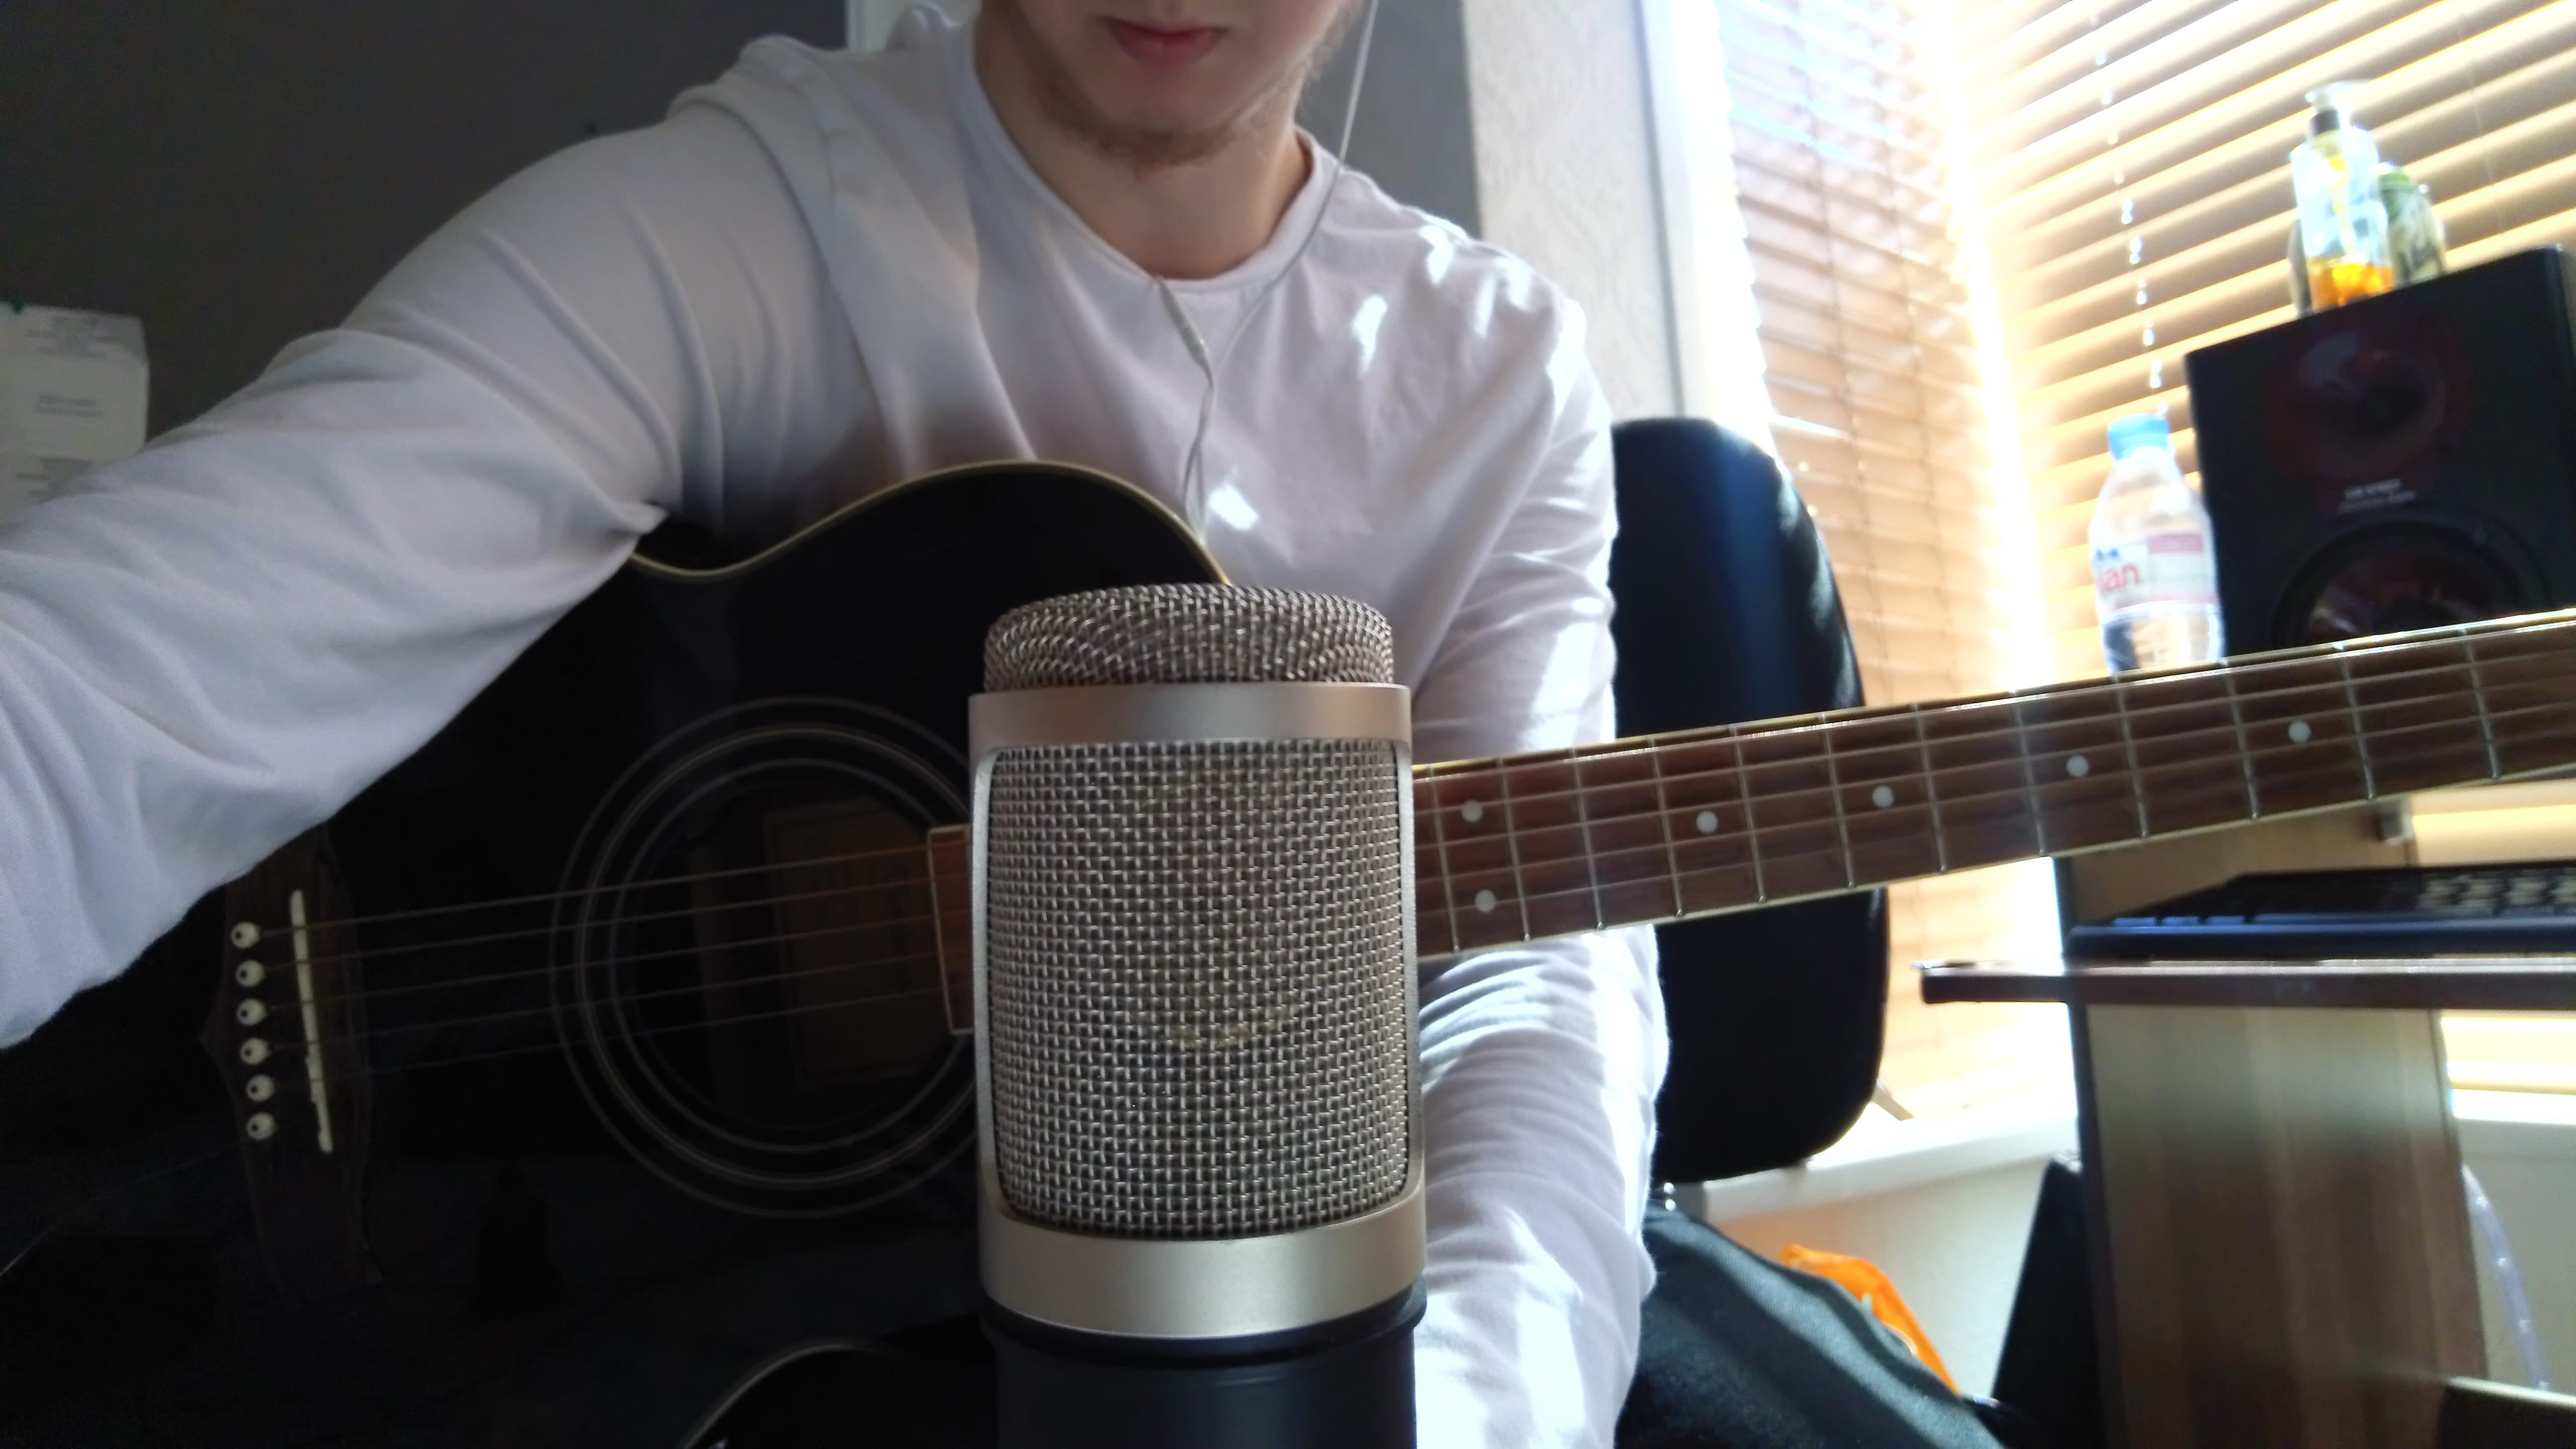
I decided to use my Tanglewood acoustic guitar for my tracks; the body has a smooth low-end frequency response alongside an open, jangly top end adding detail and articulation to rhythmic elements. After trying out both dynamic and condenser microphones, I decided to settle with using the sE 2200 condenser microphone, as it doesn’t attenuate the higher frequency content (which the SM57 and M201 did). The microphone was placed a metre and a half away from the guitar, aimed above where the fretboard meets the body, to capture an even amount of both low-end and high-end frequency content. For “Wait”, I moved the microphone slightly higher up the neck towards the 12th fret due to their being a wide array of musical elements, effectively the position change of the microphone acting as an EQ change. With “You and I”, I chose to back the microphone further back to capture more of the sound of the room and a more “raw, untreated, professional iPhone-like” recording. For me, this track ran the risk of becoming very polished, perfect and clinical, which is exactly what I didn’t want, so backing the microphone away, capturing how the acoustic guitar interacted within the environment and treating the vocals more in the polished, clinical sense made much more sense.
Electric Guitar
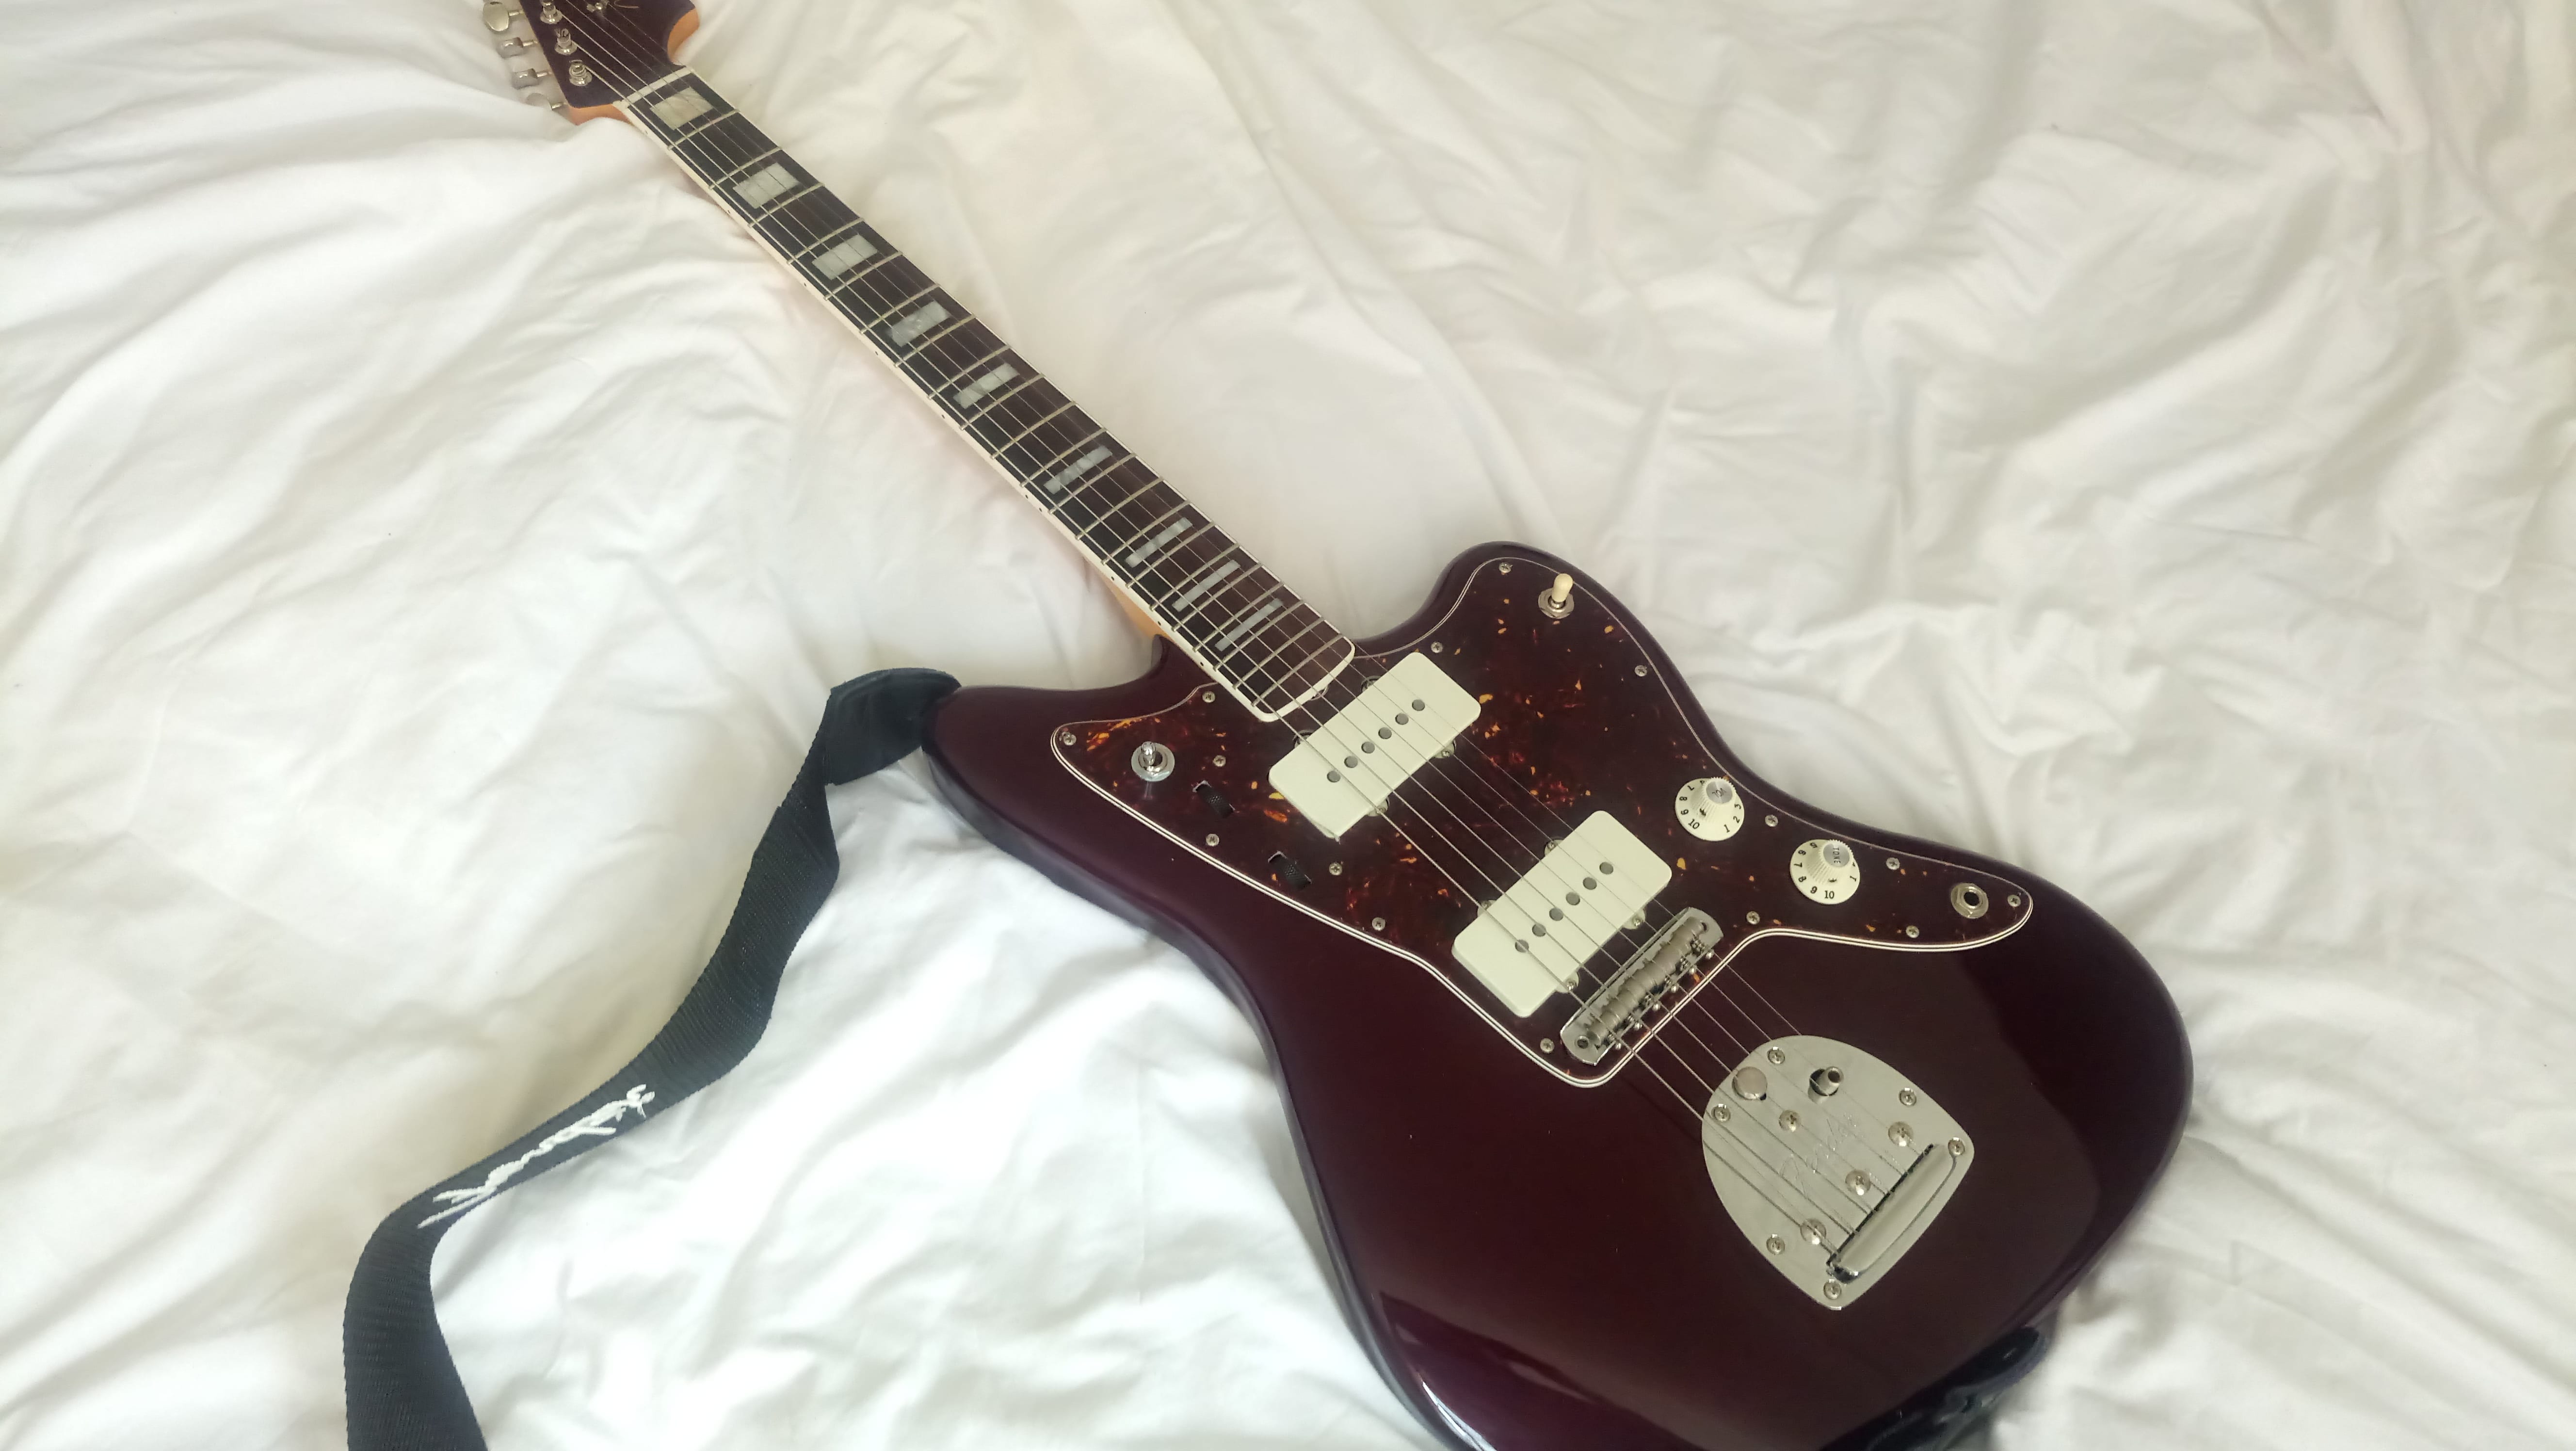
When recording electric guitar, I wanted to make sure that wherever it was used it left an impact on the listener; either due to its delicacy, or it’s raw energy. For this reason, I used my Fender Jazzmaster; its rosewood neck helps reduce the abrasiveness typically found in Jazzmasters whilst still retaining a clarity, focus and definition in the higher frequencies.
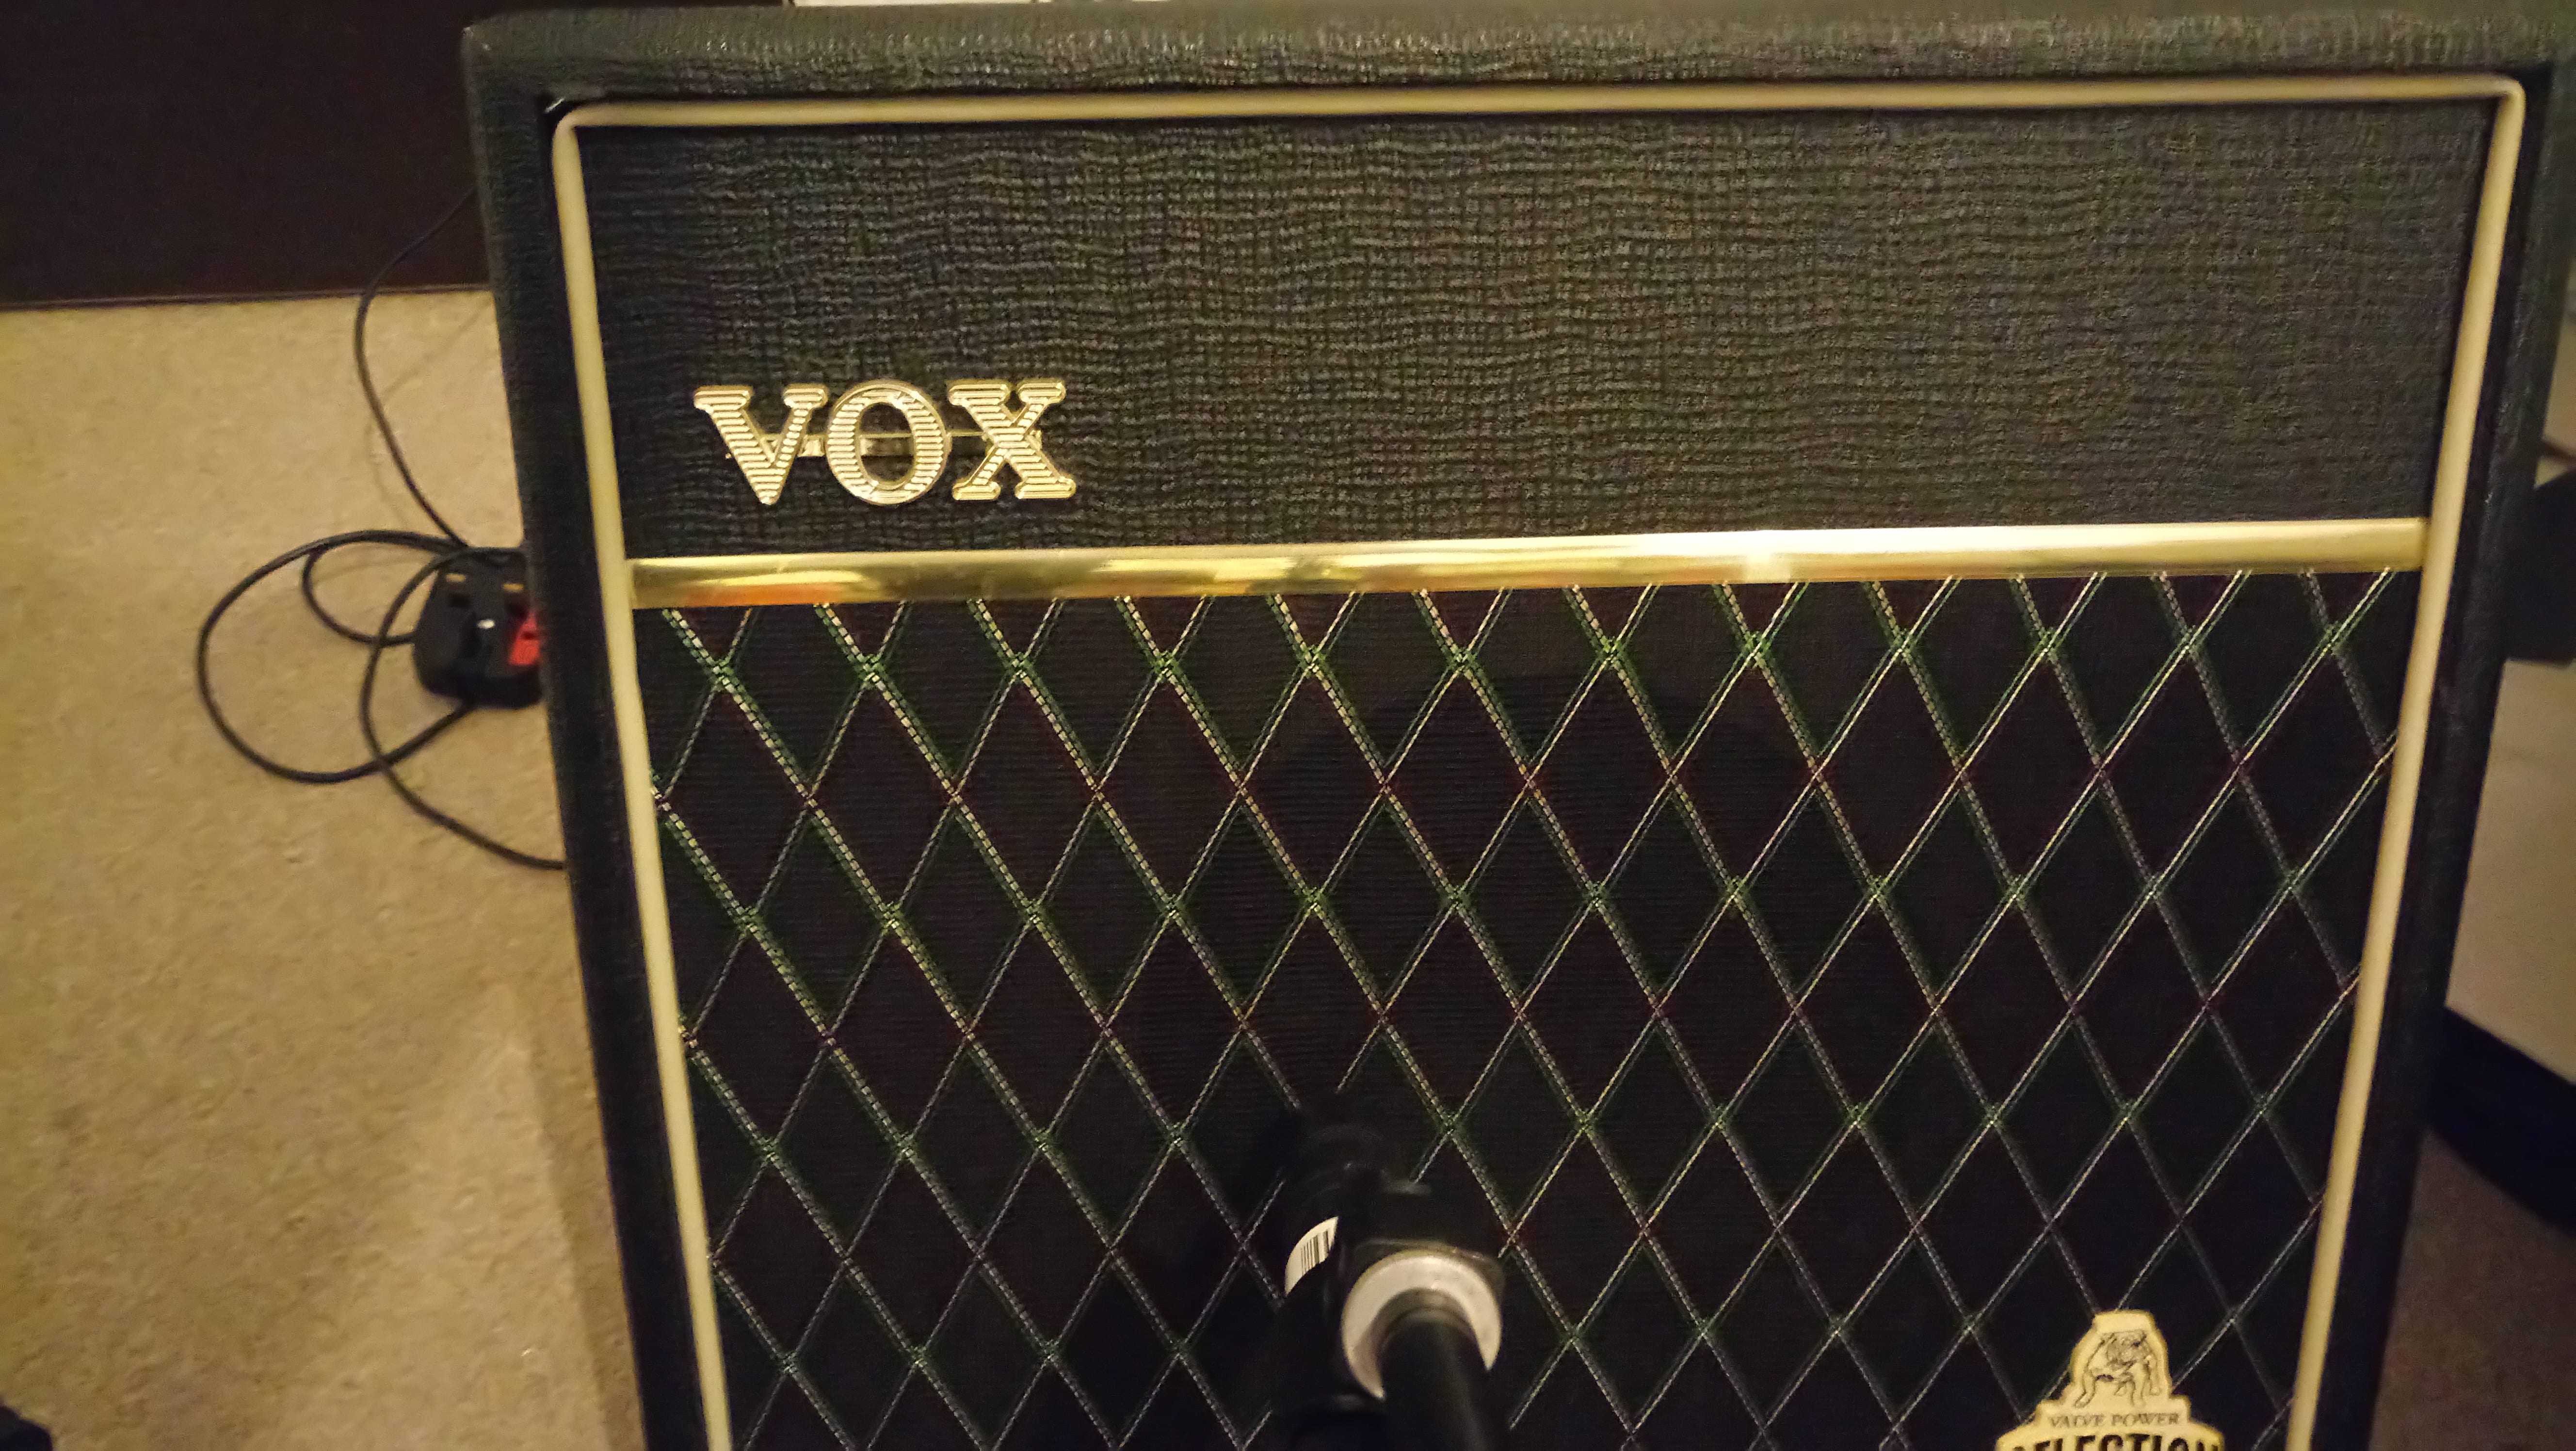
I passed it through my Vox amp, using a high volume/low gain setting for the clean electric guitar verses of “Wait” and lead guitar sections of “What To Do”, and a low volume/high gain setting for the crunchy guitar choruses of “Wait”. The beyerdynamic m201 dynamic microphone was used to capture both tones, as it’s +4dB boost at 7 kHz helps exaggerate the clarity of the clean tones and the crunch of the distorted tone, which was exactly what I was looking for.
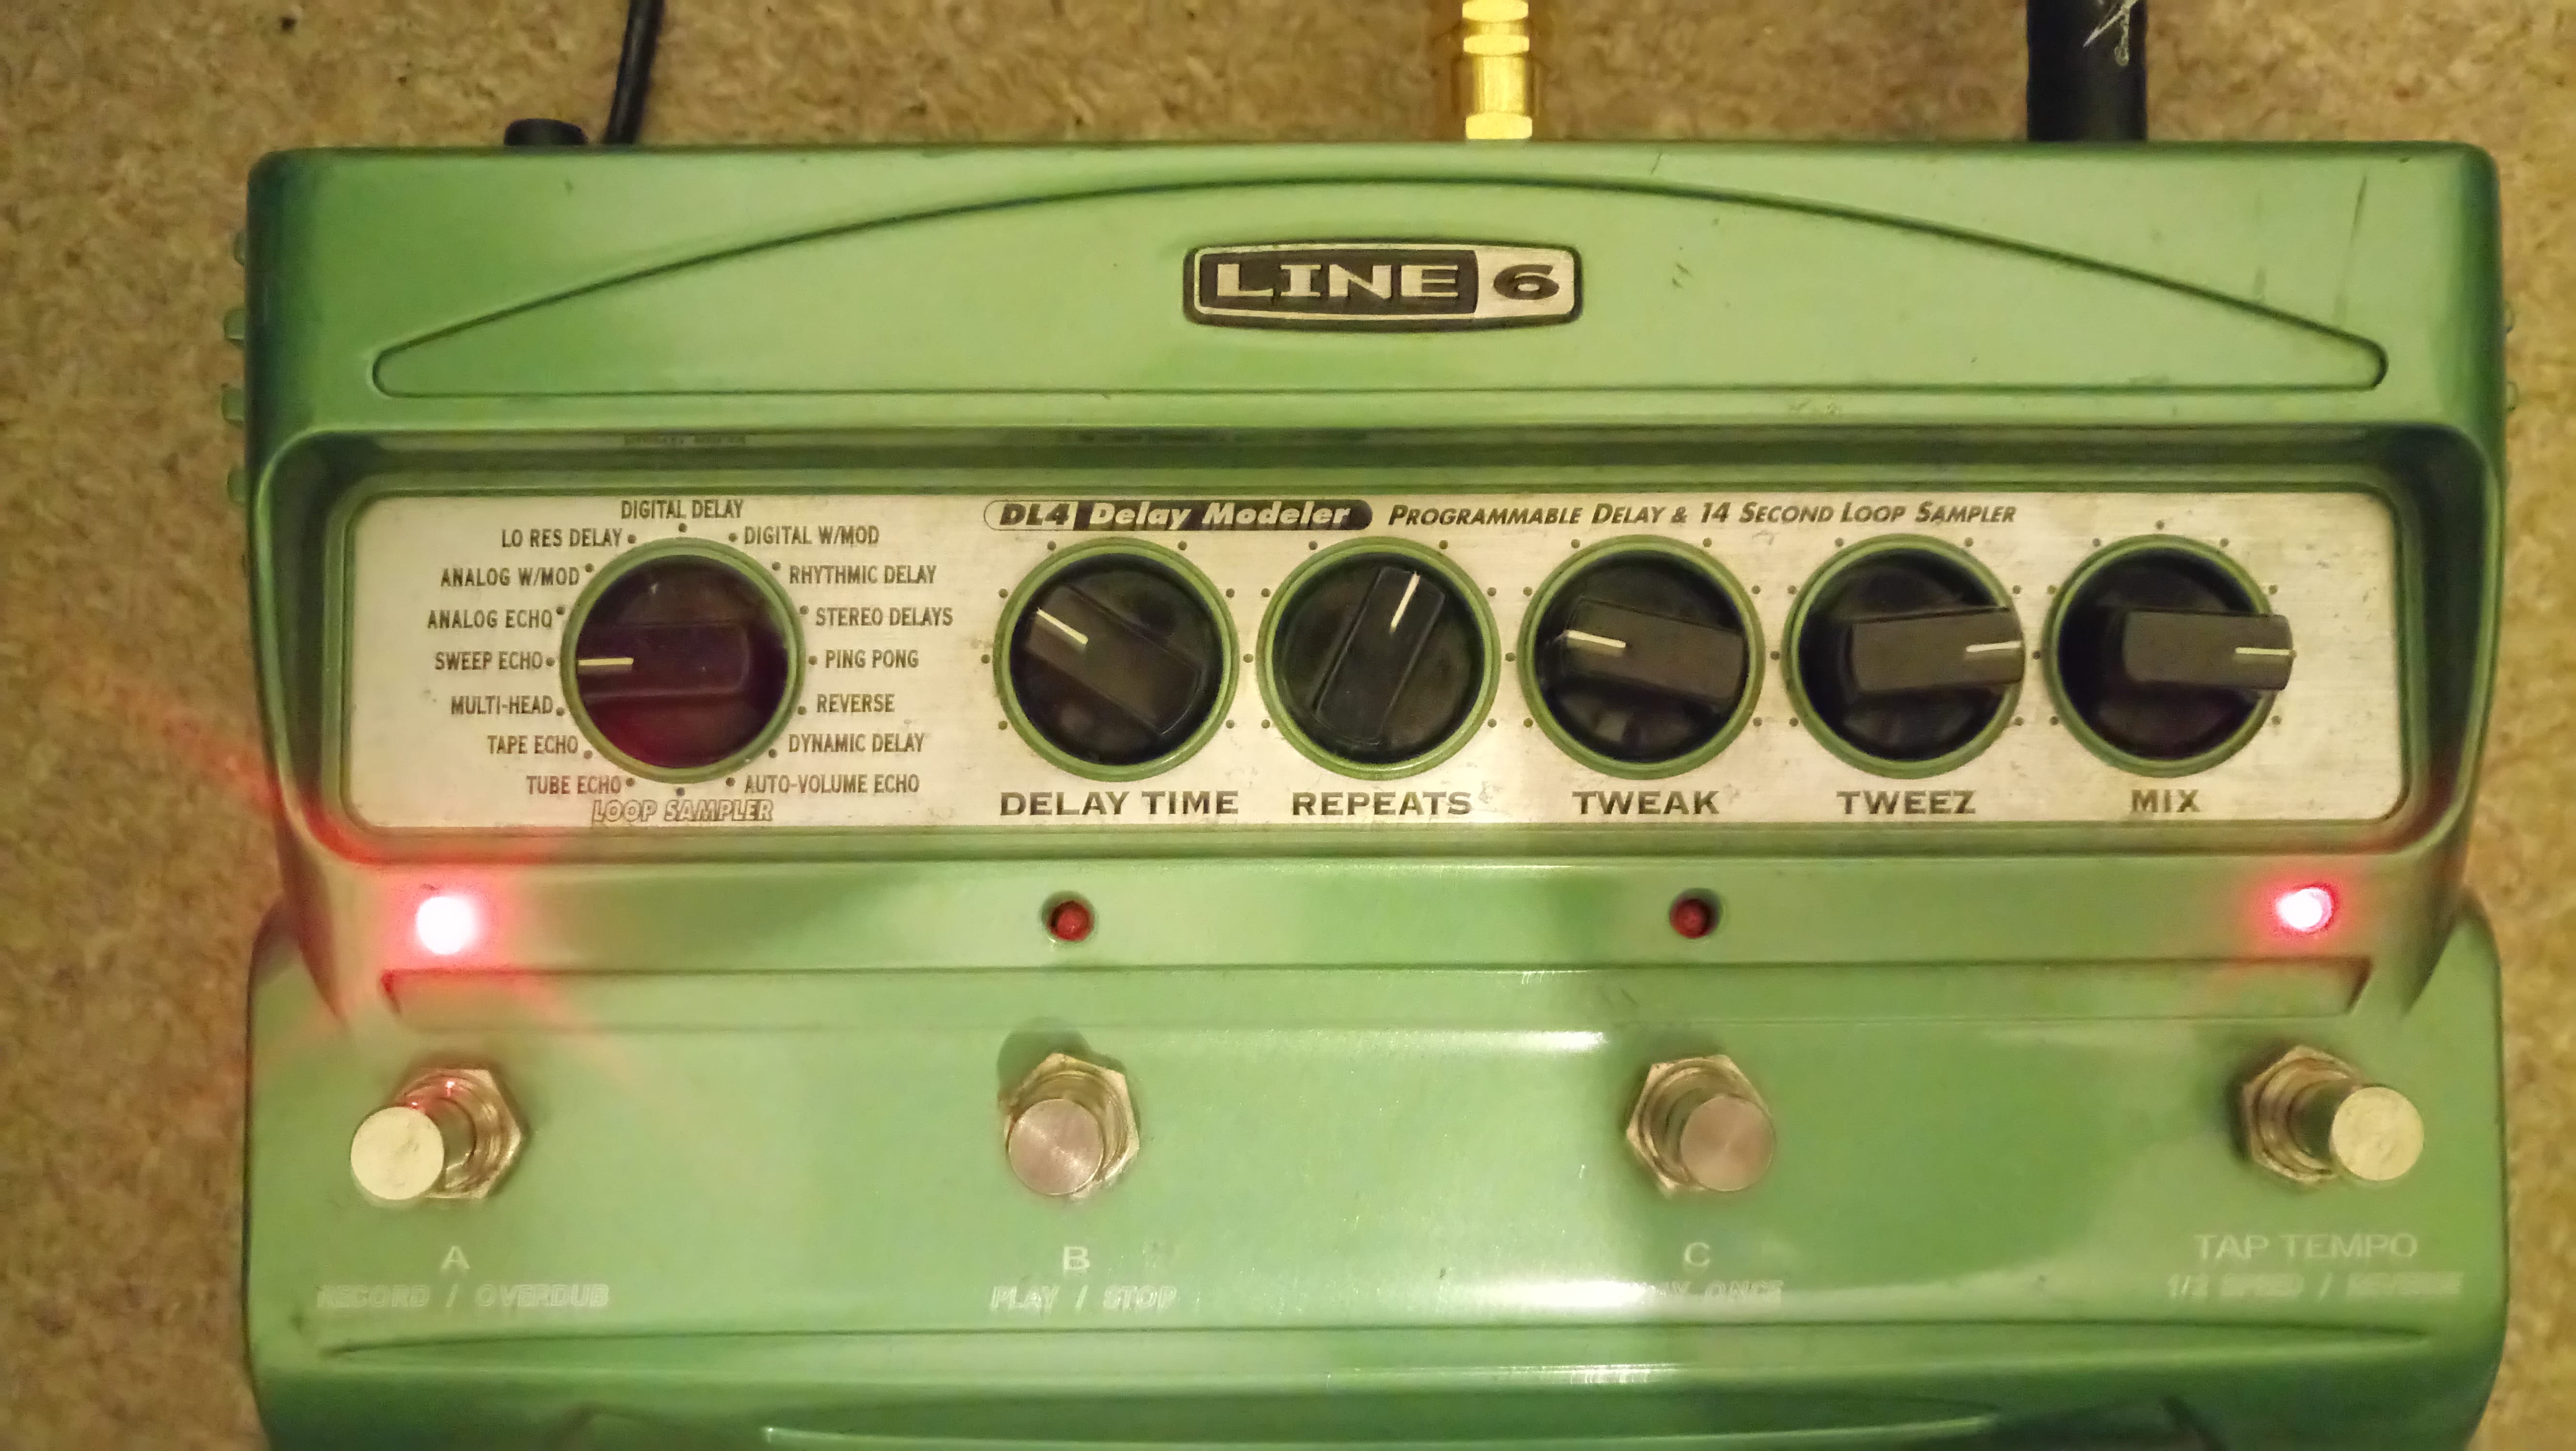
For some lead guitar parts in the breakdown of “Wait” I used my Line 6 DL-4 delay pedal on the setting ‘Sweep Echo’, which passes a resonant boost over the audible frequency spectrum, creating an effect that retains the interest of the listener.
Bass
I knew that prior to creating the bass I didn’t want anything that would distort the clarity or the rhythm of the acoustic guitar – I wanted it much more as a support tool. Upon working with Anthony (Sessions with Anthony #1), we bothagreed this is definitely the direction we wanted to take the bass, so we began playing around with some ideas.
We ran the bass through my RME Fireface 800, as we both felt that the bass could run the risk of becoming too overpowering in “Role Models”, “Wait” and “You and I”, which is much more about the vocal and acoustic guitar melodies.
Drums
Originally, during the verses I wanted to have rim shots, to signify a dying down of pace; however, during Pete Session 1, Pete played a different drum beat that was much more rhythmic and helped carry the groove and feeling of the song whilst still being fairly minimal in terms of its role.
Demos
https://soundcloud.com/parissounds/wait-demo
https://soundcloud.com/parissounds/what-to-do-demo
https://soundcloud.com/parissounds/you-and-i-demo